
On Tuesday the 24th, I stopped new work on the layout. I could have laid about another 10-15 feet of track, but it became obvious that I would not be able to connect the two ends of the mainline by Saturday; so I decided not to push it any further and begin the cleanup of the layout and check-out of equipment prior to Saturday.
It's a good thing that I did. I have only one lighting circuit in the basement. There are a lot of lights in the basement. During construction, I usually have all of the lights over the aisles on and only those lights over the layout in the area where I am working. I was not sure that if all of the lights were on at once, it would not pop the circuit breaker. The total load is not easily calculated as you can add up the wattage of all of the florescent tubes, but it's not easy to determine the current consumed by the electronic ballasts. I suspected that I was near the limits. Friday night I deliberately turned on all of the lights and waited to see what would happen. The lights stayed on and, after a while, I forgot about it and went on testing rolling stock. Unexpectedly, I was involuntarily plunged into "night operations" as the breaker opened (the loco headlights and control panel lights were cool!). The solution, at least temporarily, was to turn off all of the aisle lights when all of the layout lights are on. Since I still have more layout lights to install, long-term, I'll have to move some lights to another circuit.
I resolved a tight-gauge problem with a curved turnout that I laid in one of the helix tracks to make up for the over sized scissors crossover (Unfortunately due to time pressure I did not document the construction of this turnout, but let me say that it runs very well).
With insufficient time to thoroughly wring-out the track on the helix, I decided to make up two trains to run up the helix and check out these trains for proper operation on the helix. One train was a mixed freight made up of 8 plastic cars plus caboose and pulled by a plastic Weaver RS-3 (still in Rock Island paint). The other was a 7 (later 8) car train of coal hoppers made up of five die-cast hoppers and three plastic hoppers (filled with coal loads). This latter train was pulled by a die-cast Weaver Pacific steamer.
Now that I had a lot more track to run trains on, these trains began to tax the capabilities of the locomotives. As the trains pulled the grade approaching the helix and, especially, once the trains were entirely on the curve of the helix, the motors were really straining, as indicated by their noise. This was particularly noticeable with the BEMF decoder in the steamer, it was really pulsing the motor.
There was some minor wheel slip on the coal train with 7 cars (5 of which were heavy die-cast), when the 8th car was added Saturday morning, wheel slip was very noticeable. Engineers had to actually work this train using techniques like making a "run for the hill" and managing the throttle to minimize wheel slip. Now I had an answer for a long-standing question of mine, would the grades be sufficient to actually require helpers? The answer, of course, is yes. I will add some weight to all of my locomotives and, once I have helpers running, no "five-finger assists" will be allowed.
The old-hand attendees remarked on how much progress had been made since September's open house. New guests had a lot of questions about the layout's design and construction.
Saturday was gloomy and overcast here in Northern VA, so the planned cook-out was scrubbed and we had an indoor sandwich buffet. My good wife made several dozen (must have been 4-5 dozen) homemade chocolate chip cookies (her best batch yet!) and they were almost all eaten during the course of the day.
After lunch ended a few stayed on and the topic turned almost entirely to operations. I outlined my concept of operations, based on actual B&O helper operations out of M&K junction including a couple of ideas I had to make the game slightly more realistic. I believe that my concepts were well-received and, since one of the guests was an actual brakeman, I consider that high praise.
No group picture this time since we were not outside to take one. But while the layout is reasonably presentable, I took the following pictures as a tour for those who could not attend.

M&K Junction (still unfinished) above.

On Cranberry Grade (above).

The curve through Rowlesburg, WV (no, the track is not actually super elevated, I did that with the camera).

Further up Cheat River Grade (done in the style of the railroad publicity photos of old)

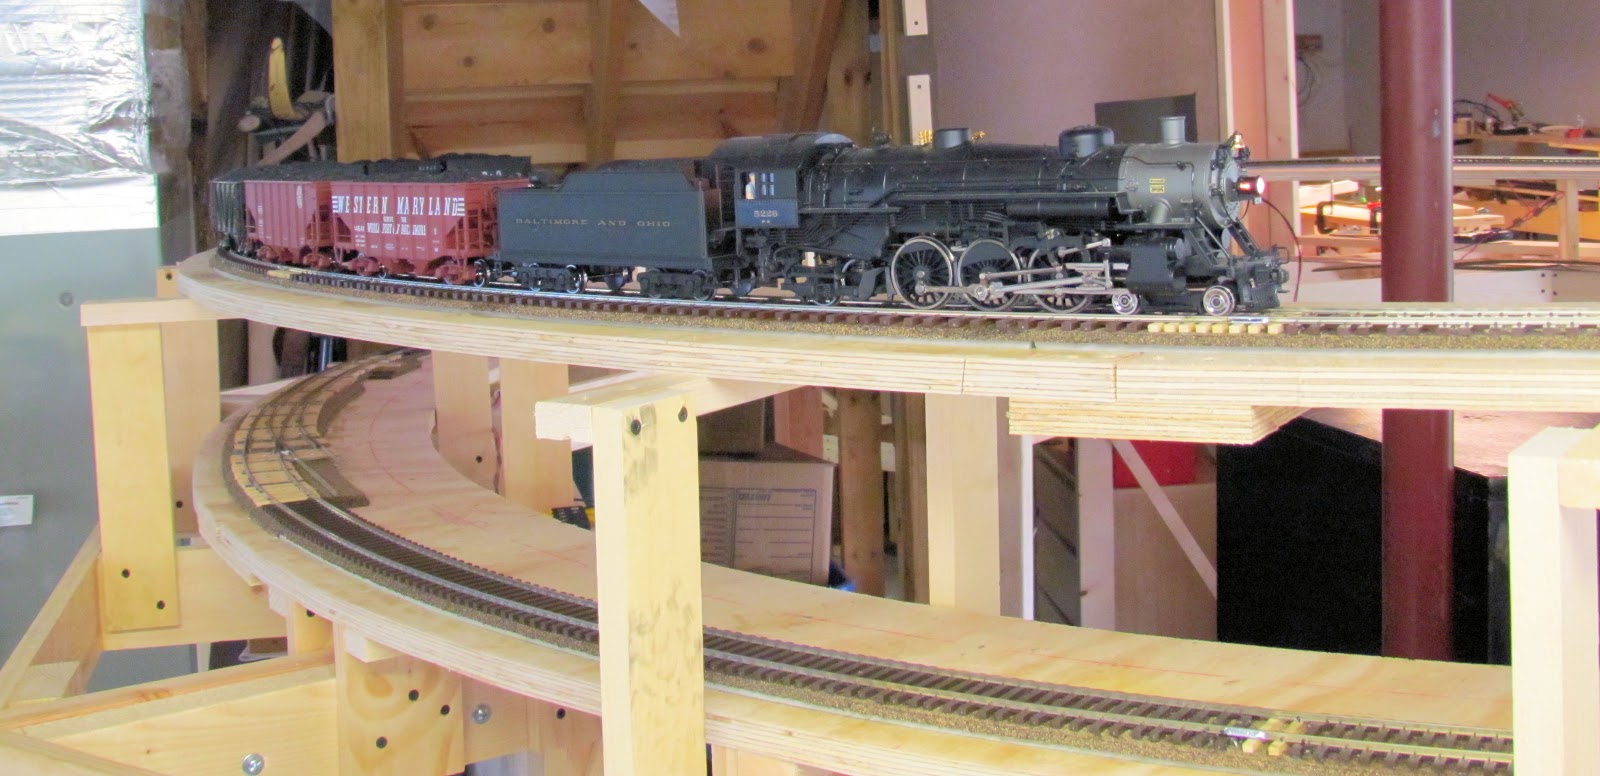
Entering the helix.

Climbing the helix.

About to penetrate the backdrop

Through the backdrop. Entrance to the helix is below. (this view will eventually be covered by scenery)
Second turn of the helix.

End of track on the helix.
Friday night before the open house I put together a movie. I must apologize for the quality of the sound. The sound is from a older Soundtraxx DSX decoder recorded separately and dubbed onto the video; therefore synchronization is not the best. Also I did not turn off the air pump, which comes on at inappropriate times. But you can always turn off the sound; it's too loud too, so you'll probably want to turn it down in any event.. Click in the play bar to turn on HD, if you have the computer and connection to support it.


