
It's finally done! Here's the second video on Photo Backdrops. This installment covers photo taking and printing. This video completes the basics of making photo backdrops. You can see the first video in the series here: Photo Backdrops Made Easy
If you have a slow computer or slow video connection, click on the blue "HD" in the play bar immediately as the video starts to play. That will put the player in SD mode and it will reload a standard definition version of the video.
It's very likely that there will be a third video in the series tentatively titled "Advanced Techniques". In it I will demonstrate photo taking techniques on location, more sophisticated edits and editing tools, desktop printing tips and a demonstration and it may even include a demonstration of hanging one of the backdrops. This episode is likely to be available on DVD only and should be ready by summer/fall 2012.
Thursday, February 23, 2012
Saturday, February 18, 2012
Meet MOAH
I haven't posted in a while because I have been busy with the second installment of the photo backdrop video and my day job has been very dicey lately.
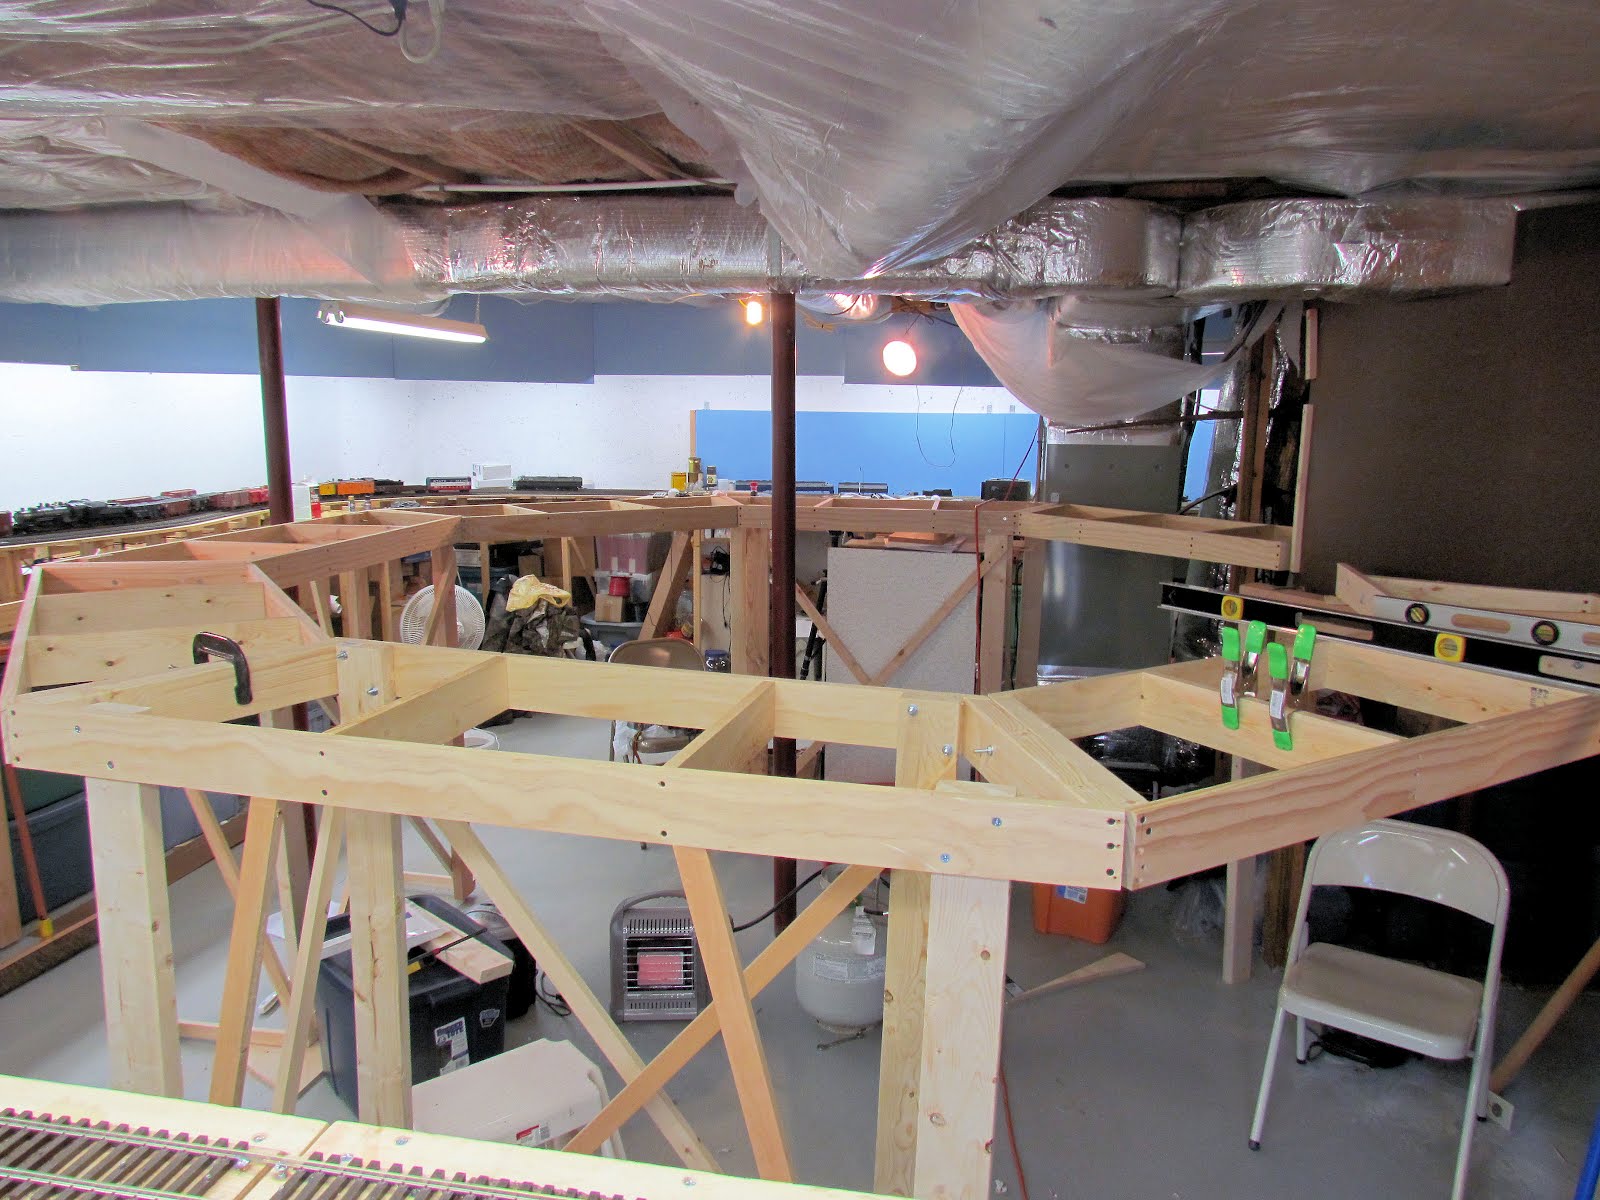
In my basement I'm creating the Mother Of All Helices (MOAH). You can see my first posts on building this helix here: Construction of the Helix Begins.
Just to recap: the helix is two turns, has two tracks, 66.5" and 62" radii and is 142 inches across. The benchwork was begun in December and finished the weekend of Feb 4/5.
Here are pictures of the completed benchwork.


Doesn't look that large in the pictures; but let me tell you this is a big puppy.
The octagonal benchwork that I designed (see previous post) worked out well. The scheme of using legs under only every other section works OK, but it's important because it allows me to duck under the benchwork into the center of the helix easily.
A disappointment arose after the benchwork was complete. A narrow aisle was created near the basement walk-out door that did not show on my computer-generated plans because I did not draw the edge of the benchwork in the plan. I had assumed that the 3+' between the helix and the track along the wall would allow for a normal width aisle. The aisle as-built is only 24" wide; that's not really a problem except that I wanted to keep the walk-out entry handicapped accessible. There is a way to get a wheel chair in, but it cannot turn and go through the tight aisle. However, the wheelchair-bound visitor can duck under the helix to get beyond the constriction. Not ideal, but workable.
Here are some pictures with the first level of sub roadbed assembled from the sections cut back in December.


The sub roabed, made from 3/4 inch plywood, is set level in these photos. It will be raised to the final grade, which will rise from left to right (i.e. counter clockwise), before track laying begins. Also before track laying begins, there's a little matter of a double crossover that needs to be completed.
In my basement I'm creating the Mother Of All Helices (MOAH). You can see my first posts on building this helix here: Construction of the Helix Begins.
Just to recap: the helix is two turns, has two tracks, 66.5" and 62" radii and is 142 inches across. The benchwork was begun in December and finished the weekend of Feb 4/5.
Here are pictures of the completed benchwork.

Doesn't look that large in the pictures; but let me tell you this is a big puppy.
The octagonal benchwork that I designed (see previous post) worked out well. The scheme of using legs under only every other section works OK, but it's important because it allows me to duck under the benchwork into the center of the helix easily.
A disappointment arose after the benchwork was complete. A narrow aisle was created near the basement walk-out door that did not show on my computer-generated plans because I did not draw the edge of the benchwork in the plan. I had assumed that the 3+' between the helix and the track along the wall would allow for a normal width aisle. The aisle as-built is only 24" wide; that's not really a problem except that I wanted to keep the walk-out entry handicapped accessible. There is a way to get a wheel chair in, but it cannot turn and go through the tight aisle. However, the wheelchair-bound visitor can duck under the helix to get beyond the constriction. Not ideal, but workable.
Here are some pictures with the first level of sub roadbed assembled from the sections cut back in December.


The sub roabed, made from 3/4 inch plywood, is set level in these photos. It will be raised to the final grade, which will rise from left to right (i.e. counter clockwise), before track laying begins. Also before track laying begins, there's a little matter of a double crossover that needs to be completed.
Subscribe to:
Posts (Atom)


