M&K Junction Railroad

M&K Junction Railroad
Another train of eastbound coal crosses the Cheat River

Friday, December 26, 2014

Christmas at the Summit


On Christmas Day I set the last piece of subroadbed in place at the top of the helix which, in turn, fixed the highest point on the mainline.  The height at the summit is 68 1/2 inches above the floor.  Here's a picture - decorated for the occasion with a department store bristle-brush tree.


The initial planned altitude at this point was to be a bit higher, but as the two ends of the railroad approached each other, it became apparent that the height difference between the two ends was larger than planned.  Therefore I reduced the grade on the last part of the upper turn of the helix in partial compensation.  In fact. the clearance between the decks of the helix at the point of the sign is only 4 3/4 inches vs. the NMRA recommendation of 5 1/2 inches, which I maintained almost everywhere else.  

As I don't intend to run double stacks or tri-level auto racks since they are out of my time period, this should not be much of a problem.

Another thing struck me today.  This track arrangement reminds me of the three-level railroad crossing in Richmond, Virginia; which I visited earlier this year.  Any similarity is unintentional, however.  Here's a couple of pictures of the crossing in Richmond.


There is a canal below the crossing too, just to make this a really unique site.  Today the area around the crossing is in a park.  Unfortunately, all three tracks are not active as the lowest track, now owned by Norfolk Southern, ends just beyond the crossing.  The upper two tracks are in daily use. Technically, though, since the grade-level track does still pass beneath, it's still a triple crossing.

Back on my layout, the lower two levels will be covered and out of sight.  And, no, I'm not going to alter the plan (already did that too many times) to make this into a scenic feature!


Sunday, December 21, 2014

Fall Clinics


This fall I have been privileged to present a number of my clinics at a couple of model railroad conventions. On Sept. 19 & 20 I was at the O Scale National in Indianapolis and I presented three clinics: 3D Printing for Model Railroaders; Microcontrollers for Model Railroaders and Photo Backdrops Made Easy. The 3D Printing clinic was SRO and I gave an encore presentation on the following day. The hotlinks embedded above will take you to copies of the slides for each clinic.

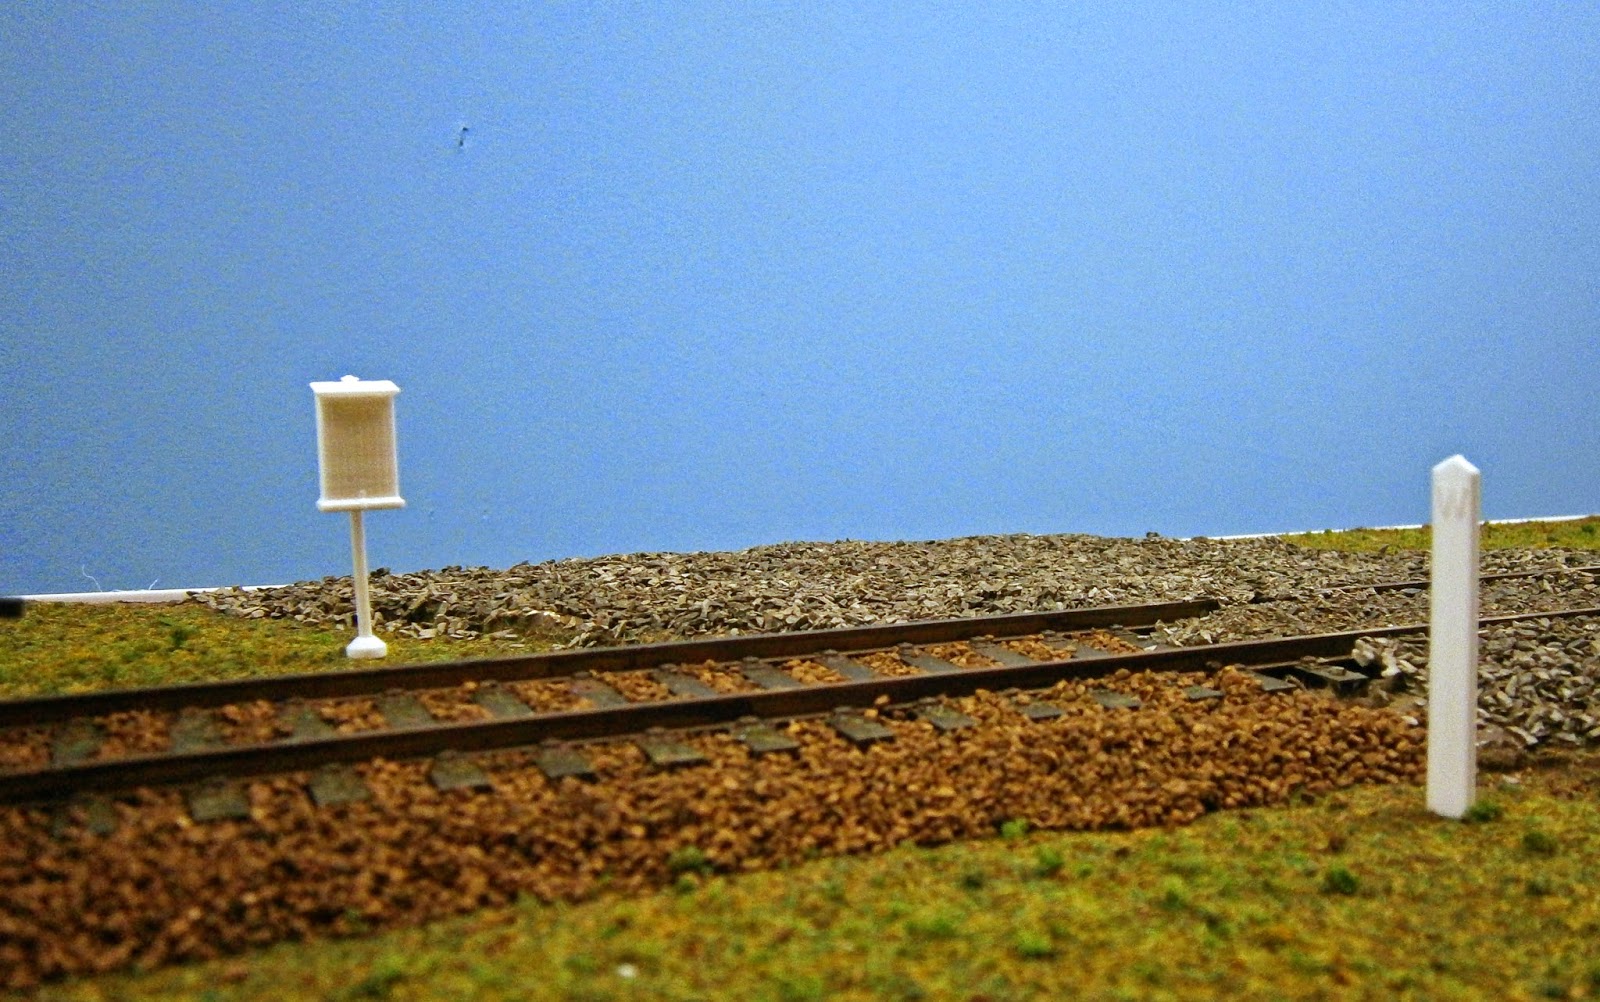
Here are pictures of the diorama that I built for the 3D printing clinic. Everything that you see in white on the diorama is a 3D print; in O scale of course. The concrete telephone booth is a resin casting from a 3D printed master to illustrate the use of 3D prints as casting masters.


You should be able to spot B&O and WM whistle posts, B&O and PRR telephone boxes; a B&O dwarf CPL signal; a PRR catenary post. The 2 critter bodies fit over an O scale Atlas switcher mechanism from the 1970’s that’s still readily available. The cab-only print turns the switcher into an Fn2 critter and the full body print is a freelance design that could be a diesel or it could be electric with the addition of a pantograph or a trolley pole. I also had various 3D printed items that I passed around at the clinic.

The Microcontrollers for Model Railroading clinic is an expansion of the LaunchPad for Model Railroading clinic that I gave last year. The new clinic includes microcontroller products from a number of additional manufacturers. The number of microcontroller products has exploded in the last couple of years with different manufacturers offering a bewildering array of features on their products. The clinic provides a quick overview of some of them.

I presented 2 clinics on Oct. 19 at the MER NMRA regional convention in Hagerstown, MD. 3D Printing for Model Railroaders was again SRO. The other clinic was Photo Backdrops, which attracted some non-model railroader spouses.

At all of my clinics I distributed a disk containing all 3 clinics, my 2 videos on Photo Backdrops plus a sample panoramic photo that attendees could practice on. You can find my videos here and here. I had exactly enough disks for all of the attendees. However, if you want a disk, I will burn one for you if you send me a self-addressed stamped envelope to mail the disk back to you.

Next year I’m thinking of adding a fourth clinic – Fun With LEDs. This will be an expansion of the Fun With LEDs entries on this blog of a couple of years back with a working diorama showcasing uses for LEDs.

So if you would like for me to present at your convention in 2015, let me know and we’ll see if we can work it out.


Saturday, December 20, 2014

A Job Too Long Postponed


I've recently completed some work on the layout that I have been putting off for years. When I built the lower hidden staging (which was not in my original plan) I had to put a curved crossover between the inbound and outbound tracks to facilitate routing trains to/from any track of the five in staging. The crossover was hand-built before I had the Fast Track fixtures and worked out a method of laying curved turnouts in the regular straight fixture. The crossover is fine with most rolling stock. But after I had laid it, I discovered that Weaver diesels would cause one of the two turnouts to short out. Now, if you know modern O scale, Weaver diesels are staples and unavoidable. So it had to be fixed.

Preliminary investigation indicated that the back of the wheelsets were shorting out on the closure rails. Fixing this would require resetting the throwbar on the offending turnout, which was already laid in place. Not a job I was looking forward to. All to moreso because the crossover is located in an area that I can reach to lay it; but to do detail work on it in place, I would have to stand on a step stool and then bend over – an invitation to a backache. So I put it off with the rationalization that I did not have to fix this until the mainline was ready to be built above. Of course, the fact that this turnout needed to be fixed before extending the mainline became an impediment to finishing the mainline. Pretty good exercise in circular logic, no?


Well after nearly two years of little progress on the layout (joblessness for most of '12 and being on crutches for half of '13) I am in the process of making a maximum effort to finish at least one track of the mainline. Therefore I had to steel myself to fix this turnout and continue major track laying.

This photo shows the crossover; the offending turnout is the one on the right (Yes, that's a seriously wide tie spacing on the crossover - remember, this crossover is hidden and will not be seen).


Actually, absent the resulting backache and one additional problem, it wasn't as bad as I had been dreading.  Repositioning the points at the throw bar did fix the shorting problem.  Rechecking the entire turnout with the NMRA gauge revealed that there was a gauge problem at one of the wing/guard rails causing an ever so slight bump as trucks passed through the frog.  Since this turnout will be buried under benchwork and track above, it had to be as bullet proof as possible.

Filing inside the flangeways to correct the check gauge resulted in the expected backache (3 weeks and fading at this point).  The truck that you see in the picture has what has become my standard wheelsets - Intermountain O scale 33" wheels.  Once the check gauge was to NMRA standards, this truck passed through without any bumps.  In fact, with my finger on the truck, I can barely feel the frog passage.

I then tried the turnout with a six-wheel heavyweight passenger truck and - damn - the truck had a bounce going through.  WTF?  Back to the file, checking as I went.  The turnout was to NMRA specs. Maybe, I thought, the longer truck required me to take it to the extreme wide limit of the NMRA range.

When I got the turnout to the maximum allowed by the gauge, the heavyweight truck still had a bounce.  Fortunately, before I went below the NMRA standards I checked the heavyweight's wheels and, surprise, surprise, the back-to-back on the wheelsets failed - too narrow.  I feel really dumb - this is not the first time I've used wheelsets that were out of gauge to build or test a turnout - driving me nuts in the process.  I should have checked the truck before using it as a standard.  I guess that my learning curve is a flat line.

The blue-green thing at the extreme right of the photo above is a servo with some sound dampening material stuck on it.  This servo throws the problem turnout and it has been there almost since the turnout was laid.  The other switch needed a servo before this area is covered over.  Since these two turnouts are in a crossover and must always be thrown together, I had obtained some servo "Y" cables to connect both servos together so they would throw simultaneously.

Since both servos would move in the same direction (CW or CCW) the second servo would have to be mounted in the proper physical orientation to move the other throwbar in the opposite direction.  I tried to figure this out analytically but too many variables (facing right or left; above or below the track, etc.) made my head hurt.  I finally just fashioned a crank and held the servo in place while I threw the switch and empirically determined the proper location for the servo.

The next photo shows the final location and orientation.


This second servo is under the roadbed (the first servo is above the roadbed) and facing in the other direction to the first servo.  My head would have though that two reversals of orientation would make the throws move in the same direction; not so (that's why I'm not a mechanical engineer).

The servo is glued to a bracket as is outlined in an earlier post in this blog (A Few Simple Solutions).  The second bracket that you see is just there to protect the servo because it's located above the duck-under to my workbench.

With THAT job out of the way, the mainline could continue.  I had cut sections of road bed to fit the three-track curve above this location a week or two before.  The next few photos show the roadbed progressing on what will be "Graveyard Curve" on the Cranberry Grade.


The next photos show the crossover and why it had to be just so before the mainline could continue.


As I write this, the curve's sub roadbed is in place and I'm finishing sub roadbed at the top of the helix.  Now the two ends-of-track are pointed at each other.  There's a small matter of about 6 inches difference in vertical height in a run of about 14 feet - and the first time something is not as planned in 3rd Plan It. I have some re-figuring to do and probably will have to increase the grade through Graveyard Curve and the approach to Terra Alta, WV (top of the helix).  By serendipity, that's exactly what the prototype had to do on the approach to Terra Alta.

Friday, November 7, 2014

The Scenery Masters


I’ve gotten over my mental block on doing scenery, mostly as the result of doing a couple of dioramas in support of my clinics (BTW this is an excellent way of trying out new techniques and, if you don’t like the result, you can just chuck it away). In addition, I’ve had the opportunity to hone my skills by working on other people’s layouts (and act all altruistic in the process!).

However, I’ve had exposure to two scenery virtuosos which have made me feel totally inadequate. But first let me expand on my thoughts about scenery. My first exposures to scenery, in my pre-high school days, were parakeet gravel for ballast and dyed sawdust for everything else (yes, and painted plywood – see below). The most commonly available commercial products of the day were the Like-Like grass, earth, coal and ballast in the familiar boxes; which to this day are essentially unchanged after 50 years. And maybe you know the joke that circulates in the O scale community – “What’s an unsceniced layout? Bare plywood. What’s a sceniced layout? The plywood’s painted green.”

Today there’s a bewildering array of excellent scenery products, that can be intimidating in itself. I particularly favor the various ground cover blends as far superior to the mono-colored, uniform textured products. Following the directions on any of the excellent scenery products that we have today will get you passable scenery; often in a single step.

You can get good scenery by copycatting what you see in the real world. I remember reading somewhere (maybe one of Armstrong’s books?) that the allure of southwestern (US) railroading was the scenery, it’s easy to duplicate – few trees and sparse vegetation. I don’t know. If you study photos of Pelle Soeburg’s or Eric Brooman’s southwestern themed layouts, you’ll see that there’s a lot more to it than that. Here in the eastern US, look at any field in nature. Unless it’s a manicured lawn or a planted field, the color and texture of the field will vary from place to place across it. Bare ground will show through in spots; there will be scrub and weeds in others; dried grass will appear brown even at the height of summer; colorful wildflowers may dot it here and there.

This is the stage of scenery design that I’m at. To duplicate this effect, I use a layered approach. Starting with a tinted or painted scenery base (not on the bare, pool-table-flat plywood; whether it’s painted green or not!) I lay it on in irregular thicknesses, intentionally building in mounds and undulations, because fields are not perfectly flat. On top of this I apply something that simulates the texture and color of the earth. Any one of the commercial “earth” products will work (in fact you should use a few in different spots for variation) and, believe it or not, good old Life-Like earth works well in this application. On top of that I use at least two of the blended ground covers – one finer and one more coarse – to simulate the look of an unkempt field. And I don’t use the same two blends everywhere. As the next layer I’ll sprinkle “burnt” grass, yellow straw or other lighter contrasting colors in irregular patches. The final layer is larger ground foam, polly balls, or other products that add the stand-alone bushes. None of these color layers is applied as a solid opaque layer. It’s applied thinly enough that a hint of the “earth” layer comes through.

This procedure produces “journeyman” level scenery; superb scenery requires some artistic talent. This brings me back to the two scenery masters that I am acquainted with. Each of these model railroaders has a different scenery style. Each produces breathtaking scenery. And each uses predominantly common and/or natural materials in addition to model railroading specific products.

Chris Smith is a member of our local O scale group and an N&W modeler. Chris’ layout is in a modest sized basement (by O scale standards). As a result, the track is pushed out right to the walls in an effort to get in the largest radius and the longest run. There is little room for scenery between the track and the unyielding basement walls. But Chris has mastered the situation; of course he has an advantage, he’s a professional artist!

Sometimes in as little as 3-4” between track and wall Chris has reproduced eastern mountains in a manner that your brain sees a large mountain. Not just mountain forms covered with puff-ball “trees”; Chris has provided every clue that you would see in reality – bare patches, slide areas, trees clinging to and growing out of cracks in rocks. The density of his vegetation is far less than the typical “puff ball” mountain; yet your brain perceives a real, densely wooded eastern hill. On a scale between “impressionistic” and “photo realistic”, Chris’ work is a tick or two on the impressionistic side. I don’t have nearly enough pictures of Chris’ layout, but take a look at what I do have and judge for yourself (Clicking on any photo will blow it up. Use your back button to return).


In his work Chris has used dirt from his backyard and ground up leaves for, what else, leaf litter. Scenic Express tree armatures, ground foam and cast plaster rocks round out his palette of materials. Chris did an article on his mountains: "Vertical Scenery", O Scale Trains, Mar/Apr 2014, if you can find a copy somewhere you can read about his technique.

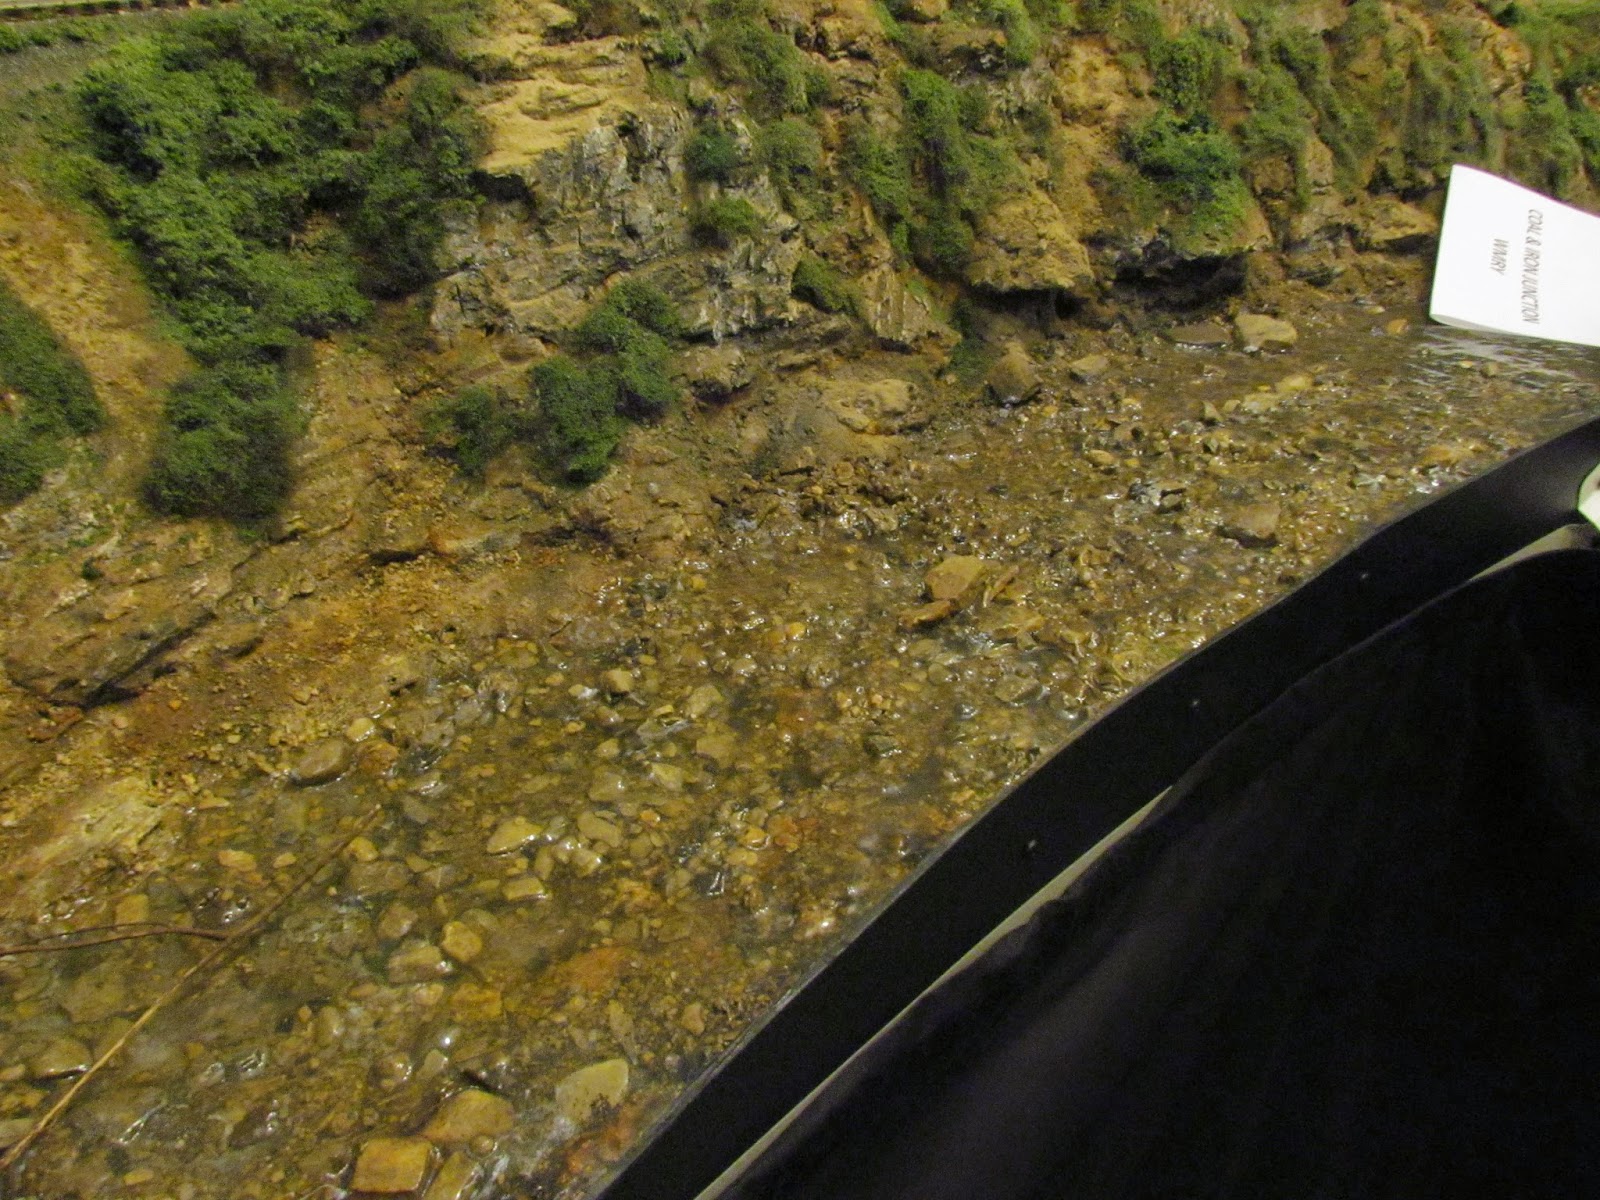
One of the first scenic features that Chris finished (and one that I am jealous of and really makes me feel inadequate) is his river crossing scene. The river, the rocks, the shoreline, the grass, the bridge –everything is in proportion, balanced and PERFECT! And what did he make his water with? Plain old Minwax varnish, poured on and built up in layers. The natural amber color of the varnish adds to the effect of a lazy, somewhat algae-choked stream.


A couple of years ago at my second layout open house, Jay Beckham and Warren Hart visited. Jay is building an O scale layout in Berkley Springs, WV. Warren had, at that time, just recently returned to model railroading after a very long hiatus. Before he left my layout, Warren shared with me some photos from his long gone HO Western Maryland layout and, even though they were low-res web photos, they were impressive. See for yourself.


A few weeks ago, Jay opened his layout for the MER NMRA convention and I made the trip to West Virginia to take a look.  I was blown away. Warren’s scenery was incomparable, especially when paired with somewhat subdued lighting (a technique that I’ve seen used very effectively recently).

The photos do not do the scenery justice inasmuch as the camera tries to compensate for the low level lighting. The scenery is more impressive in person.


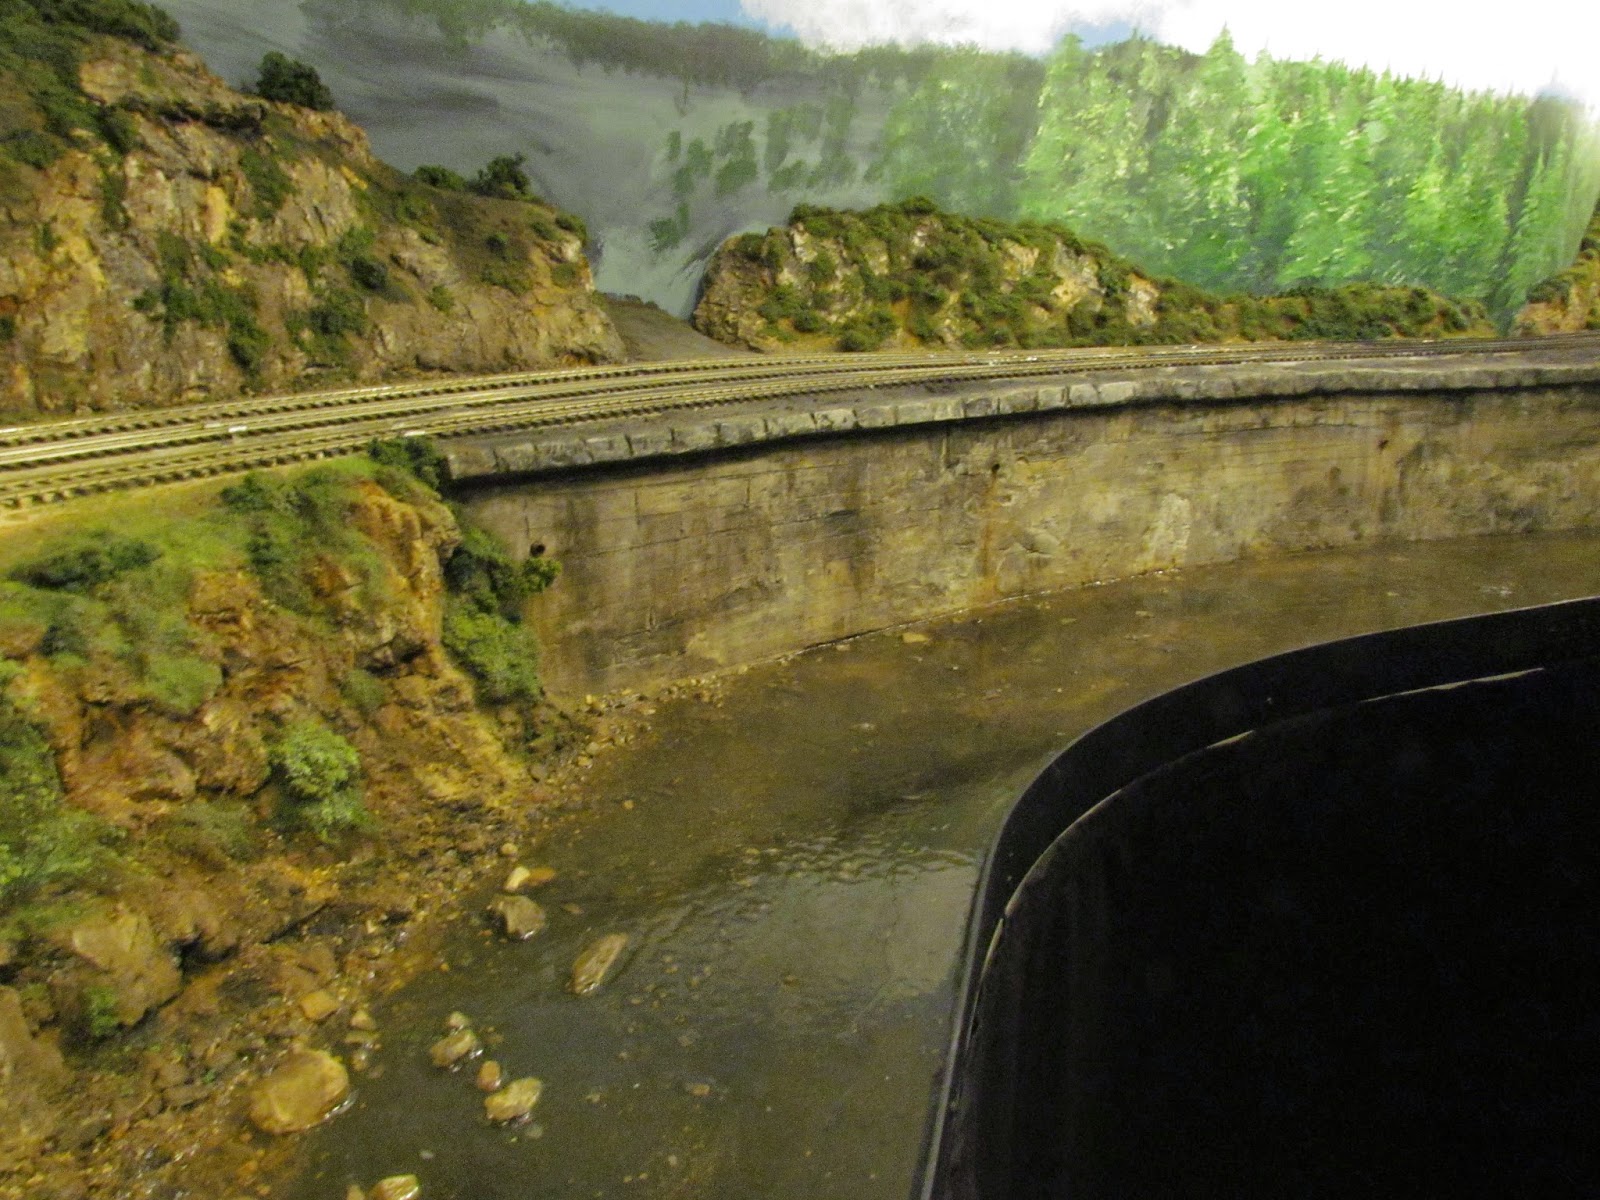
Since this was my first trip to see Warren’s work “in the flesh”, I could not ply him with enough questions to glean any significant insight into his scenery techniques. Some highlights – his rocks are hand carved (although I prefer castings); water is made with successive pours of gloss Mod Podge; coloring is done with craft store acrylics and some of the hanging vegetation is poly fiber teased out and covered with ground foam. On the scale between “impressionistic” and “photo realistic”, Warren’s work is either dead center or a tick towards photo realism.

The most impressive scenic feature so far (and the layout is not nearly finished scenically) is this concrete retaining wall. These walls are common along the WM, which hugs the Potomac River and its tributaries along its climb into the mountains. Although Warren explained how he did it, I still find it mind boggling.


If I can arrange for my schedule and Warren’s to line up, I’d like to understudy him at a future working session.

When I planned my own layout, I took John Armstrong’s advice and planned for more lighting rather than less. My 5000 K overhead fluorescents reproduce high noon on a bright day. But there’s something to be said for planned subdued lighting. Maybe this is something in my future?


Wednesday, July 23, 2014

Recent Escapades


It seems that so far this year I have worked as much as, if not more, on other people’s layouts as much as my own. So, in no particular chronological order, here are some of my recent antics.

During the month of June and the first part of July, I was on extended business travel to Indianapolis. Dave Vaughn (more on Dave later) hooked me up with his friend and fellow NKP modeler, Jim Canter. Jim belongs to a jolly bunch of O scale/P48 aficionados who have an informal rotating club that meets at and works on the member’s layouts. So I got to do things as varied as installing a transfer table on a 3-rail layout and doing general DCC, electrical and urban construction duties on a portable P48 layout that Jim is building.

I also learned something amazing – Lionel invented P48! Here’s a video to prove it (you may have to view the video in full screen mode, on the playbar, to see the video in the proper aspect ratio).


All kidding aside, I enjoyed my time among the P48’ers; but, no, I’m not changing gauge!

The highlight of my time in Indianapolis was the time spent working on Jim’s portable P48 layout. This layout is 8’ x 16’ (4’ x 8’ equivalent in HO) and disassembles into 4 sections for transport. The track plan is one of the best that I have seen for this space incorporating a continuous run, a runaround/passing track, several industries that can be switched without interfering with the continuous running, a short stretch of 2-track “mainline” where big locos can shuttle back and forth plus a cosmetic junction with the mainline featuring dual sets of diamonds. It is possible to keep 3 trains in motion on the layout, although two of them are shuttling back and forth. All track on this layout is hand laid with tie plates and four spikes per tie, code 125 rail.

I helped Jim lay out his urban scene at one end of the layout, built foundations for the Woodland Scenics/Menard’s buildings; did the DCC system and decoder setup and generally made myself useful.


The last week that I was there was the week before the NMRA National Train Show, which Jim had committed to attend with the layout. There was a lot of work yet to do and I worked every night that week to help out. On the Sunday before the show a whole gaggle of people, including Dave Vaughn who was in town for business on Monday, were ballasting and putting down ground cover.

The stars aligned for me the next weekend (July 19-20) and I was able to make a blitz trip to Cleveland and attend the NMRA National Train Show. On Saturday I handled the duty of keeping all of the trains moving, which was not as boring as it sounds. Interest in the layout was very high, not necessarily from the general public, but from other modelers who had not considered O scale as a viable option before. From talking with a lot of modelers in every scale from N to G the layout struck a cord because of: modest trains running at realistic speeds; accommodation of both continuous running and switching; a plausible mix of urban and industrial/rural scenes; beautifully done track work including #10 and # 8 switches exclusively and a modest size that can fit into a single car garage space. Many NMRA officials spent time at the layout and want to have it at the 2016 NMRA National which will be held in the layout’s hometown of Indianapolis. All of this and the layout is not even near complete yet!

Here’s some video that I shot of the layout to give you a feel for it.


I guess that I’ve been adopted by the Indianapolis group and, since I expect to be making periodic business trips to Indy, that is a good thing!

Going back to the last week of March, the week before I started my new job, I helped Dave Vaughn prepare his layout for a photo shoot by Great Model Railroads. I worked on John Armstrong’s “Photographer’s Bend” scene and the extension of it that Dave had built. The extension, mated with Armstrong’s original work, makes it into a long, lazy “S” curve. Dave had molds made of Armstrong’s rocks and castings matching the original rocks which were used in the new scene.

The new work had no ground cover to hide the plywood baseboard, so that’s where I started to work. Woodland Scenics/Scenic Express ground covers were used. The only thing unusual that I did was use natural rock that I had collected, cleaned and screened. ‘Ya gotta love O scale, since it large enough that natural scenery materials are easy to use, because nothing offered commercially today beats natural materials where you can use them.

Here are some pictures of that work:


When I moved on to the section done by Armstrong it presented a quandary. What is the proper technique to use? Do you curate John’s work and maybe only stabilize it? Do you “freshen it up” or do you bring it up to modern standards? Obviously the layout’s owner, Dave Vaughn, had the final say and his decision was to freshen it up. Here are some photos:


Armstrong's original section extends to the bridge in the foreground.


One thing I did do was add some talus to the base of Armstrong's cliffs.


I did not have the privilege of knowing John Armstrong like some of the other guys in our group did, but I have been honored to work on his layout.

Finally between business trips I’ve been trying to finish the backdrops on my own layout and I’m almost there. They’re more than 75% done now and I going to halt here and clean up the layout for my twice-postponed open house. With most of the backdrops done, scenery can begin even though the mainline is not finished; and I’m looking forward to it.