M&K Junction Railroad

M&K Junction Railroad
Another train of eastbound coal crosses the Cheat River

Friday, May 6, 2011

Textures and How to Use Them II

This is the second incarnation of this post. The first was lost in the Blogger crash of May 11, 2011. Blogger lost this post, but made double entries for some of my other ones. I guess you get what you pay for.

End Rant.

In my first posting on “Textures and How To Use Them” I mentioned two good sites for free textures: Mayang’s and CG Textures. This post will deal with CG Textures.

To download textures from the CG Textures website, you have to sign up for a free membership. This is no big deal as I have not received any e-mail communication from CG Textures nor any spam that might be related to membership in their website. The free membership is limited to downloading 15 MB of textures a day. This is not a serious limitation subject to some caveats that I mention below. CG Textures terms of use are very generous too; you cannot repost their textures as downloadable textures, even if they have been modified. Otherwise they can be distributed in printed or electronic form (the latter as part of some larger product). Paying memberships are available, but the only thing that a hobbyist would gain from a paying membership is being able to download some of the textures at the highest resolutions.

CG Textures is something else. There are thousands, probably tens of thousands, of pictures on just about any conceivable stationary object found in the world around us. CG Textures mission is to provide material for creators of virtual worlds. Contrary to the title of the website, these textures are photographs of real items, and are not computer generated.

Here are just some of the features of CG Textures:

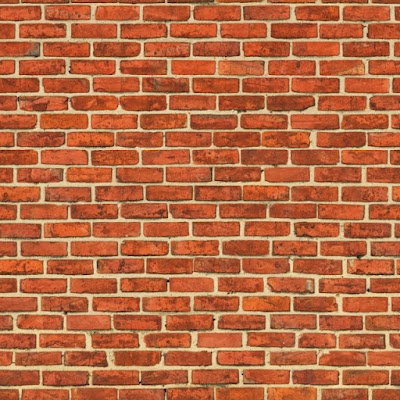
Tiles: Many of the photographs of items with repetitive patterns, like brick, come as pre-cropped ‘tiles’. Unlike Mayang’s where the user has to do the tile cropping and fitting for himself, CG Textures has many tiles ready to be butt-joined together into larger surfaces. Tiled textures even have a preview mode where the user can see how the tiled surface will look with 3x3, 5x5 and 7x7 arrays of tiles. Here's an example of a brick tile:


Tutorials: CG Textures has a series of reasonably advanced tutorials on using their textures with Photoshop. These are not basic lessons and are for the intermediate to advanced Photoshop user. However, their tutorial "10 Texture Photography Tips" is accessible to anyone.

Sky: CG Textures has a number of 360 degree panoramic sky views which can be adapted to form the sky above a layout. It’s here that the model railroader might be tempted to buy a premium membership to be able to download these enormous textures at higher resolution to create sky backdrops. A one-year membership, with a download limit of 100 MB a day, costs 49 Euros. In a year you should be able to download more skies than you can use.

However, before you do that, take a look under the heading ‘Skies Partial’. There are many good sky backdrop candidates under this heading. This is where CG Textures’ concept of ‘Sets’ is useful. Sets are a series of photographs that overlap. They can be downloaded individually, subject to the ‘free’ daily download limit of 15 MB, and stitched together to make a sky backdrop of whatever size you need. Two or three photos may be all you need for your scene. Programs like Photoshop and Photoshop Elements have a stitching capability; it can also be done with GIMP and the Pandora plug-in for GIMP, although this is tedious. You may never need a 360 degree panorama after you’ve stitched some backdrops from individual photos. Here's an example of a sky photo from a large set of photos - enough to make many feet of sky:



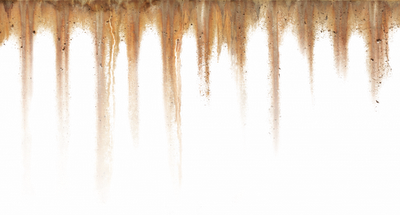
Decals: Decals are a fantastic group of textures, but difficult to explain. CG Textures’ decals are parts of other textures, like rust stains, leak stains and damaged, exposed concrete, that have been cut out of their original pictures and ‘alpha masked’ – that is put on a transparent background so that they can be overlaid onto another photograph without obscuring the underlying photo except in the area of the rust or leak itself. Thus they can be combined with other textures. Alpha-masked textures are indicated by having a faint gray checkerboard background.


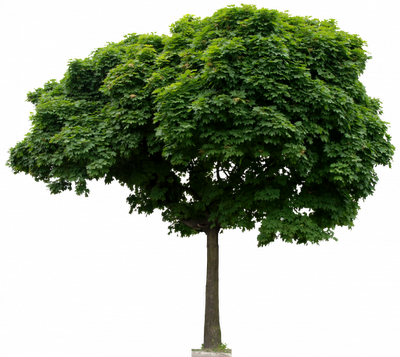
Trees: Also in the alpha-masked category are trees found under ‘Nature-Trees’. These alpha-masked trees can also be overlaid over other textures or backdrops wherever they are needed.


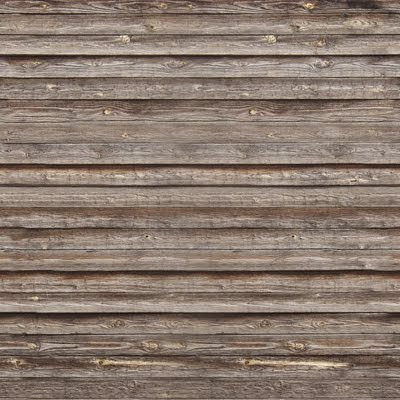
Wood Floors: Under the headings ‘Wood-Planks’ can be found wood textures in tiles and sets that can be used to make wood floors, fences, etc.


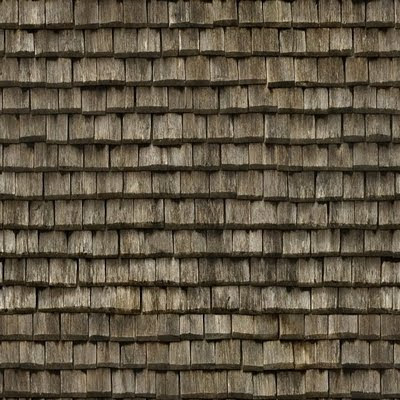
Roofing: Roofing is another category with every conceivable type of roofing - except the asphalt shingles common in North America! However, there's still a lot of good material here. Most of the roof textures come as tiled textures. Here's a wood shingle roof:


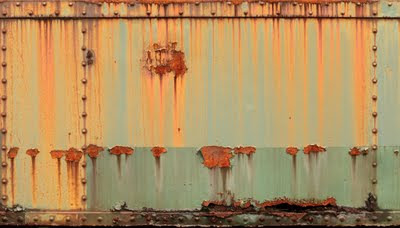
Rust: Under ‘Rust’ you’ll find pictures of rust on things such as beams, panels, tanks, corrugated siding, etc. Her's what appears to be part of a rusty storage tank:


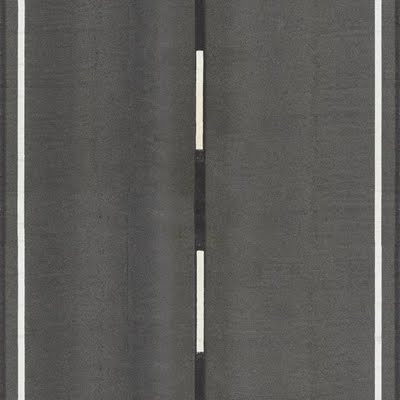
Roads: ‘Roads’ has some very good asphalt road textures that can be tiled to form roads of arbitrary length. Two-lane and four-lane roads can be created. Combine these with the ‘damage’ decals to make interesting surfaces.


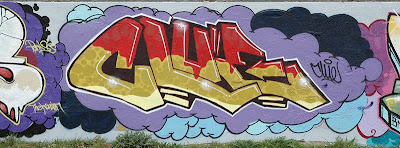
Signs: ‘Signs’ has many useful signs, but the majority of material here is European in origin. The larger graffiti section in ‘Signs’ is, alas, almost all American. Unfortunately the graffiti is not alpha masked, so extracting it to put on an arbitrary background, like modern rolling stock, is going to take some expertise.


This just scratches the surface of what is available on CG Textures. A word to the wise – websites come and go, Mayang’s and CG Textures have been around for a few years, but that does not mean that they will be here forever. Download the textures that you are interested in to your computer against the day that one or both of these sites may be taken down.

A subsequent installment will deal with manipulating textures to create things useful for our layouts.

Tuesday, May 3, 2011

Weathering Track

This post is long overdue. I was finally motivated to write it because I found the pictures that I took of the subject matter.

In 2008 when I was installing the bridge over the Cheat River, I weathered the rails with Badger Rail Brown and was not happy with the results. Badger Rail Brown produces a very orange-looking, fresh rust color; not exactly the color of rails as seen in nature or in period photographs.

Aha! let me try some of this craft store color called "Red Oxide", looks like rust to me. Well red oxide was too red, and because it was craft store paint, it would not stick to the rails.

While at one of the train shows held at the Dulles Expo Center, I spied this color called Joe's Rusty Rail Painter Dark Brown paint. No doubt, this would do the trick! Applied to the rail, this color was too brown.

Not only were the colors not right to my eye, but each paint was just that - a monochromatic paint that was too even and showed no variation in color or tone.

While pondering the situation after the failure of Joe's color, and with all three colors next to the track, I got a flash of inspiration (it happens, but not often). I poured out a dab of each paint onto a paper plate, took my brush and dipped into each color in turn and applied the brush dripping with all three colors to the rails. On the rail I wiped it on and brushed the backstroke, but made no attempt to even out the color.

One was too orange, one was too red and one was too brown; but all three together were just right. The three colors blended to for a very pleasing rust color; better still, the colors did not mix completely leaving a very subtle mottled color on the rail.


The photo above shows the technique after I perfected it (I encourage you to click on the photo for a larger view). First the ties and rail are given a coat of Floquil Railroad Tie Brown. After this has dried thoroughly, I begin coloring the rails. I dip my brush into the red and the brown paint with every refill of paint, but the orange I use only every second or third dip; otherwise the color is too orange for my eye.

By varying the order in which you dip and how much you dip, you have a lot of control over how the final product looks. Do not brush the paint back and forth along the rail, but only just enough to cover the rail. This will produce the mottled look by not homogenizing the paint on the rail.

As I paint the rail I make no effort to confine the paint to the rail proper; in fact, as the brush runs low on paint I make an effort to bounce the brush along the spikes and tie plates to get some rust color on those parts. The next photo shows this effect.


I keep some Q-Tips wet with water handy and if I get a little too much paint on the tie plates, I take a wet Q-Tip and draw the extra paint out into a rust stain as you can see on the fifth tie from the left on the track in the foreground (click on the picture to enlarge to see this plainly).

This final photo is the finished product.


I let the track dry thoroughly before I clean the tops of the rail. I do this so that the paint has time to bond to the rail. I tried cleaning the rail soon after application and it caused the paint to crack and peel off of the rail sides. This is more work than cleaning the rail right away, however.

There is nothing special about the three colors that I chose for this technique. Try different colors in the dark reds, browns and oranges to find a combination that might work better for you.

Is this more work that spray-painting the rail, using rail color markers or one of the dedicated rail painting devices? Yes it is, but I think that the effect is worth it.

Monday, May 2, 2011

Staging Progresses

The last two weekends, ending on April 24, I was building turnouts using the Fast Tracks fixtures. This weekend was devoted to begin building the ladder into hidden staging.

Here are a couple of photos showing what hidden staging looks like at this point. (Click on any image to enlarge)


It's not obvious in these wide-angle shots, but the two tracks nearest the aisle will not hold a train of any significant length. They will either be used for storage of equipment that I do not want to handle taking on and off of the layout or they will hold half of a train each that will be made up by a 'double dip' maneuver when the train is scheduled to leave storage.

Three turnouts are needed to connect to the three rearmost tracks and provide a leade for the two tracks nearest the aisle. The ladder was begun by fixing the center turnout, which feeds the center track, in place.


Roadbed, by the way, is Woodland Scenics foam. Next the turnout feeding the third track was aligned and connected to the first by pieces of rail cut to exactly fit the gap. These rails will have ties placed beneath them. (Next 2 photos)


Before the second weekend of turnout building, I bought a 1x30" bench top belt sander from Harbor Freight Tools. Although this is an el cheapo tool, it makes fitting rail a real pleasure; and I made some joints that are almost imperceptible as joints. I cut the rail to approximate size, but long. Then I use the sander, removing infinitesimal bits of rail, until it drops into place. It almost takes more time to explain than to do.

Finally, the turnout at the beginning of the ladder is put into place. Here is the ladder turned around, so that you are looking into staging as it were from the top of the ladder.


I used fewer ties than would be needed if these turnouts were out in plain sight, but more ties than were strictly needed for structural integrity. The ties were attached to the Fast Tracks turnout 'skeleton' with epoxy and Gorilla Glue. I used the Gorilla Glue when I ran out of epoxy and I will not use it again. It foamed all over and required a bit of cleanup. I don't know what Gorilla Glue is good for, but fine work is not one of it's uses. None of the ties will be stained as these turnouts will not be seen.

I need to build one more turnout to connect to the last two tracks in staging. I had been breaking up Micro Engineering (ME) O Scale code 148 flex track to make these turnouts. I believed that I had run out of ME flex track when I found one more piece. One piece along with some scraps that I have for guardrails and the frog points should be enough to make one turnout; however I haven't been able to pull this off yet. I'm going to give it a shot because ME flex track is sold in lots of 6 sections at more than $60 with shipping, ME rail is sold in 99' bundles at over $130 and Fast Tracks does not stock ME code 148 for sale as individual pieces. On the other hand if I'm wrong, it will delay the finishing of staging by at least a week, maybe more.