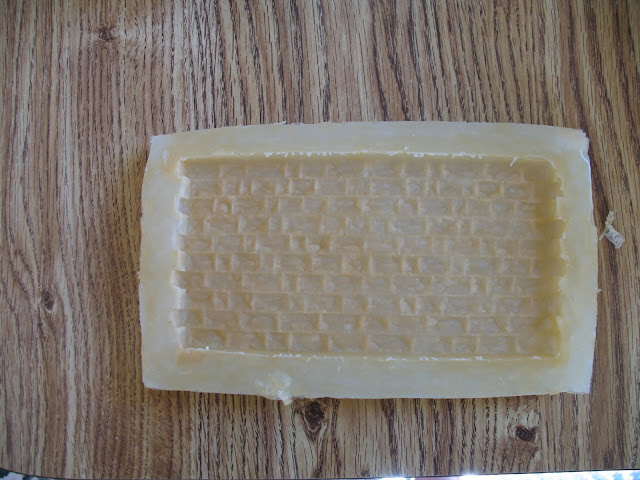
I was surprised and pleased with the mold made by this method. There was some latex 'flash' that had to be removed where latex rubber flowed under the master. This was accomplished with a X-acto knife.

All was not perfect, however. The mold came out curved as can be seen in the next picture. It could be the way I removed the mold from the master and the mold box; after cutting around the edges as one would for a cake, I lifted one end and 'peeled' it back. That could have put the curve into the mold. More likely I had too little silicone over the top of the master. Many of the pourable silicones advise to have 1/2" on all sides of the master. This mold only had 1/4" over the top of the master.

What to do to make the castings? I tried to stick the mold down with double stick tape but, not surprisingly, the tape would not stick to the silicone - not much does. I finally hit on using the non-stick surface of the tile to push down on the filled mold and hold it flat while the plaster dries. The next photo shows the tile work surface inverted over the filled mold. During drying I had additional weight on top of this to hold the mold flat.

Here's the tile lifted from the cured casting still in the mold:

This is the de-molded casting:

The casting is fully-filled and sharp with only a couple of small air bubbles that can be seen in this close-up:

How did I fill the mold and with what?
You'll notice that the casting is a light gray color - that's the way it came from the mold. The material is Merlin's Magic (MM) a dental stone developed for the Fantasy/Wargamer and D&D market. The spec sheet on MM indicates that it is harder and stronger than hydrocal. It comes in white, tan, gray and dark gray. I used the gray. This worked out well, it looks like only a black ink wash will be needed to match the real stone.
Since this is dental stone, it behaves a little differently than plaster. A tutorial on using MM can be found here:
http://www.hirstarts.com/casting/dental.html
I like this stuff. I used a slightly different mixing technique that seems to work with my 'squish' technique for holding the mold flat.
First the mold was sprayed with a soapy water mixture to act as mold release and to help prevent formation of air bubbles against the mold surface. I mixed a batch of MM about the consistency of thin pancake batter. I filled the mold about 80% with this mixture by slowly pouring a small stream into the mold to minimize bubbles. This thin mixture will settle into the mold details easily.
I pounded the table with my fist to release any air bubbles sticking to the detail parts of the mold. Next, I used a small object about the size of a toothpick inserted into the wet plaster and run along the face of the mold to release any air bubbles and several large ones came to the surface.
I mixed a stiffer batch of the MM, just to the point where it would pour readily with a little coaxing from the spoon and poured that slowly into the mold and let it self level. This stiffer mixture adds body to the mix without having to settle into the mold detail. I had to mix two stiff batches to fill the mold to slightly over the top.
Finally I inverted the tile over the mold and added weight in the form of several phone books (the phone books are small where I live). Some of the mixture oozed out between the mold and the tile, that's OK, it indicates that the mold is essentially full. I then resisted the temptation to look at the mold for about an hour or more.
The results you can see above. The casting had only a small void in the back. The casting is otherwise full and dense.


No comments:
Post a Comment