O Scale Trains' terms allow the original authors to re-post or republish articles after certain conditions are met and a certain time has past. I can now present this material on my blog. Here, in two parts, is a somewhat expanded version of the O Scale Trains article. Thanks to O Scale Trains for the opportunity to republish.
Begin Original Posting:
The B&O Tray Run Viaduct and the smaller Amblersburg Viaduct will be scenic features on my layout. Both of these are massive cut-stone structures that, even after selective compression, reproducing them will require scores of stone wall castings.
I had a cut stone wall casting which fit the bill for size and "look" and I decided to reproduce this one in the quantities required by making a mold of it and casting plaster replicas.
The usual procedure for making a mold involves a two-part, pourable silicone or urethane mold rubber to produce the mold. A starter mold making kit costs between $40 and $60. Latex mold making materials are available at considerably less cost, but the molds that they produce are more flexible and may not produce castings that will interlock without gaps. In addition, latex molds are not as durable as silicone or urethane.
The cost of the mold making materials was steep, but do-able. However the unused silicone material has only a 6 month shelf life after opening and I did not want to have to throw away most of the cost of the unused materials should I not be able to use them in time.
Therefore, I wanted a method with less waste that was, hopefully, cheaper. An article "Cast Your Own Urban Structures" by Dick Scott appeared in the July 2001 Model Railroader. In his article Mr. Scott described a method for making molds using latex mold making rubber and silicone caulk from a tube. Long story short, you use several coats of the latex to coat the master and reproduce the details and use the silicone caulk to back-up and reinforce the latex and fill out the mold box. This method also results in a mold with a flat back (just like a poured silicone mold) that does not require extra support like straight latex molds do.
To begin I bought some "Mold Builder" latex mold making compound from Michael's; with a coupon it was about $9 and can make many, many molds (it also has no expiration date!).

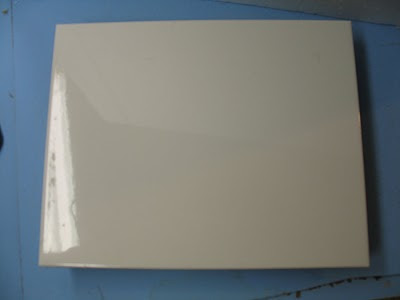
I also built a work surface to make the molds on. It's a 8" x 10" glazed ceramic tile bought at Home Depot for less than $2 glued (Liquid Nails) to and backed by 1/2" plywood. Why tile? Because the latex or other mold making compound can be scrapped from it without damaging the surface.


Here is the master being covered in latex mold compound. The light tan on the left is the previous layer fully dried. On the right, new latex is being applied, it is a whiteish compound. Follow the instructions on the jar of latex.

Here the next layer of latex is fully applied.

The mold box is built around the latex-covered master. The mold box and any of the tile surface that it encloses must be covered with a few coats of latex too or the silicone will stick to it and be hard or impossible to remove. About six coats of latex were applied before filling the mold box with silicone.

Here's the mold partially filled with silicone. I built up the layers in 1/8" thicknesses, per Scott's article. The silicone that I used was 'Mainstays' - Wal-Mart's brand which cost $2.76 a tube (caulking gun size) [note: mainstays is no longer available at Wal-Mart; GE silicone will work but is more expensive]. This mold used about a tube and a half. After the last coat, the back of the mold was struck off flush by using a taping knife (4" putty knife)


It is one of the best way to make it.
ReplyDelete